
How Candle Refills Work
Candle refills are designed to give a used vessel a new life without starting from scratch. The general process is straightforward: clean the container, prepare the wick and wax, pour the refill, let it set, and then trim and light with care. The exact details can vary by vessel and wax type, but the basic workflow stays the same.
Explore ↗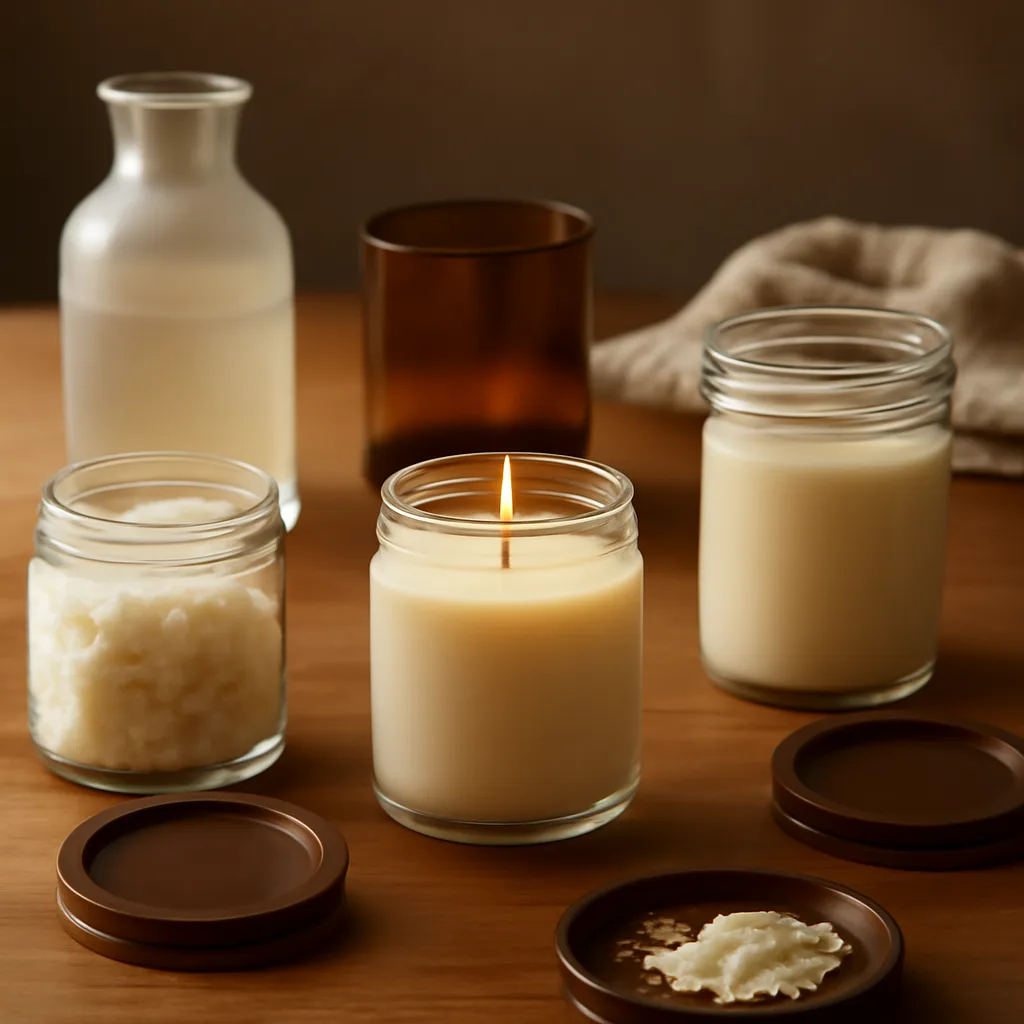
1. Start With an Empty, Clean Vessel
The first step is always preparing the container you plan to reuse. Remove any leftover wax, spent wick tabs, soot, or dust so the new candle has a clean surface to bond with. A vessel that is completely empty and dry is easier to work with and helps the refill sit evenly.
If old wax remains, it should be gently removed rather than forced out with sharp tools that could scratch or crack the container. After cleaning, inspect the inside and rim for chips, heat damage, or residue. A vessel with visible damage is better set aside than reused.
- Remove loose debris and old wick pieces
- Wipe the interior so it is dry and residue-free
- Check for cracks, chips, or heat wear before refilling
2. Prepare the Wick and Wax
A refill normally begins with positioning the wick so it stays centered while the wax is poured and cooled. The wick needs to sit straight and stable, because an off-center wick can cause uneven burning later. Some refill systems use a pre-set wick holder, while others require manual placement and support.
The wax is then prepared according to its intended use. It should be melted or softened to the appropriate pouring state, then handled carefully to avoid splashing or overheating. If fragrance is part of the refill, it is usually blended before pouring so the scent is distributed consistently through the candle.
- Keep the wick centered before pouring
- Make sure the wax is ready for a smooth, even pour
- Blend fragrance thoroughly if the refill is scented
3. Pour the Refill and Let It Set
Once the vessel is ready, the wax is poured in a steady motion. A slow pour helps reduce bubbles and keeps the surface level. The goal is to fill the container evenly without dislodging the wick or leaving gaps near the sides.
After pouring, the candle needs time to cool and harden undisturbed. Cooling too quickly can create sinkholes, cracks, or a rough top surface. A calm setting area with a level surface is best while the wax settles and fully cures.
- Pour slowly to keep the surface even
- Leave the candle undisturbed while it cools
- Avoid moving it until the wax is fully set
4. Finish the Candle for Use
When the refill has cooled, the wick is trimmed to a usable length before the first light. This helps the flame stay controlled and supports a cleaner burn. If the top is slightly uneven, it may be normal after settling, but major defects or exposed wick problems should be corrected before use.
Before lighting, confirm that the wick is upright and centered, the wax surface is clean, and the vessel is stable on a heat-safe base. The first burn matters because it helps establish how the candle will melt across the surface. A proper first burn usually means letting the wax melt far enough to reduce tunneling.
- Trim the wick before the first burn
- Check that the wick stands straight
- Use a stable, heat-safe surface for lighting
5. Simple Care Considerations After Refilling
Refilled candles are cared for much like any other candle, but a few habits are especially helpful. Keep the wick trimmed between burns, avoid burning in drafts, and do not leave the candle unattended. If the vessel was reused, it is worth watching the first burn closely to make sure the wax is melting evenly and the container remains stable.
If you are unsure whether a vessel is suitable for refilling, use the container’s shape, thickness, and previous heat exposure as practical guides. Narrow or delicate vessels may need extra caution, while sturdier containers tend to be easier to refill and burn safely. When in doubt, choose safety over reuse.
- Trim the wick regularly
- Burn away from drafts and clutter
- Monitor the first burn for even melting
- Retire vessels that show damage or instability
Discover
Choosing a Vessel
Practical guidance for selecting candle jars and containers that suit refills, room use, and your home decor.
Scent Notes for Each Room
Choose fragrance notes that suit each room’s purpose, from bright kitchen blends to soft bedroom and bath profiles.
Wick Care Basics
Simple wick care habits that help candles burn more evenly, reduce soot, and support cleaner everyday use.
Storage and Freshness
Practical guidance for keeping candles and fragrance materials stable, clean, and true to scent over time.